Tuesday, May 10, 2011

QQ May - 6x6 canvas


I wanted to create a small canvas to hang on my wall of daddy & baby. For this project I used a 6x6 thin canvas. I sprayed the canvas with Glimmer Mist and then inked the edges with QQ chalking inks.

For the 2 frames:
I found 2 plastic slides, then cut 2x2 squares of paper. I adhered the paper to the plastic slides, then turned the frames over and marked an X where the hole should be. I then cut along the X with an exacto knife and folded it around the edges. This gave me customized slides with coordinating paper.

PS - I have this hanging on my 'art wall'. I will post some pics of my scrap room later this week! :)

QQ May - "Thanks" Card

"Thanks" Card
I used more of the Cosmo Cricket Paper provided in the May Club Q kit and also added some paper flowers, buttons & raffia for the stems of my flowers.


I distressed the edges of my brown paper with my Close To My Heart distresser (love that tool)!!! Then used my fav Mocha Mama QQ ink for the edges of my cardstock.


Sunday, May 8, 2011

QQ May - "So Sweetly"

Here is another design with the Club Q items from the May kit. I absolutely love the larger photo of Nolan kissing Ethan on the head. What a precious moment for me :)

"So Sweetly" Layout


I cut a few circles in half to include a spot for the date and add a cute flair under the larger photo.


For this layout I used a Fiskars border punch and pearl accents. The quote is from Quick Quotes. For a tutorial on how to make the flower you see in the corner, please see my other QQ May layout post :)

Tuesday, May 3, 2011

QQ May - "Best Friends"

This month QQ has partnered with Cosmo Cricket. The kit came packed full of pre-cut circles which I used to create my own layered flowers. I will include a short tutorial on how you can get this same look :)

"Best Friends" layout


Close-up view of the tags. I used some QQ vellum phrases from my stash.


Layered flowers:
Step #1 - select 2 circles of different sizes
Step #2 - spray both sides with water
Step #3 - scrunch/crinkle the circles and allow them to dry completely
Step #4 - carefully unfold, adhere together and add a brad or button to the center
Voila!!! You now have customized DIY flowers!


Monday, May 2, 2011

Blog redesign

Welcome to my newly redesigned blog!!! Yippee... it was about time!!! I did a little research on changing my blog and found shabbyblogs.com. If you are looking for a DIY project for your blog, definitely check them out. They even have 'how-to' video tutorials which make changes very simple ;) Check out my site and let me know what you think.

Things I added/changed:
* new background
* personalized header using fotoflexer
* added separate blog pages with links at the top
* added blinkies
* added buttons
* added a personalized signature under each post
* added blog dividers between each post

Things still to do:
* create cute buttons for my page links at the top (found some at shabbyblogs but not sure how to add them in the html)
* create my own favicon (I tried multiple times but must still be doing something wrong. If you have advice I'd love some help, so please leave me a comment - thanks!)

Crazy Lisa fact: I was a computer science major my freshman year in college (yikes I know). So some of the html actual makes sense to me - lol!!!

Monday, April 18, 2011

Club Q Alternate Designs for April

This month QQ introduced their newest paper line called "Damsel in Distress." Since I am surrounded by boys, I sometimes find it hard to take the 'girly' papers and turn them into pages I can use for the men in my life. In my alternate designs for this month on my two page layout I steered clear of the flourish side of the papers and used the more masculine stripes for a daddy & sons layout. Then I created a one page layout with the flowery side that I plan to use as a heritage page with great grammie & the boys.

These particular papers also reminded me of celebrations such as an anniversary or wedding, so I also created 2 cards to use for occasions such as these. ENJOY!!!

"Just Like You" (father & sons layout)
I left the two tags and chipboard in the bottom corner empty for me to add journaling later.


Chipboard Embellishment Idea - take regular chipboard and stamp a design on top of it or use metal tools to imprint a design on the chipboard before adding distressing ink.


"Daddy's Boy" poem - what a perfect addition for this page. Sometimes a vellum quote sums up everything you are thinking and feeling to add special sentiments to a page.


"For Keeps" Heritage Layout
The "for keeps" tag can be glued down to the page or you could cut a slit in the page protector to create an interactive sliding piece and add journaling to it. There are also 3 flowers pre-printed at the bottom of this paper. To make them pop a bit more I took a second sheet of the same paper and cut out the 3 flowers. Then I folded the edges slightly and glued them on top of the initial paper. It is hard to see in the pictures, but it definitely adds a lot to the bottom of this layout :)


"Celebration" card
Inside the frame you could add a picture of the happy couple for a wedding or anniversary.


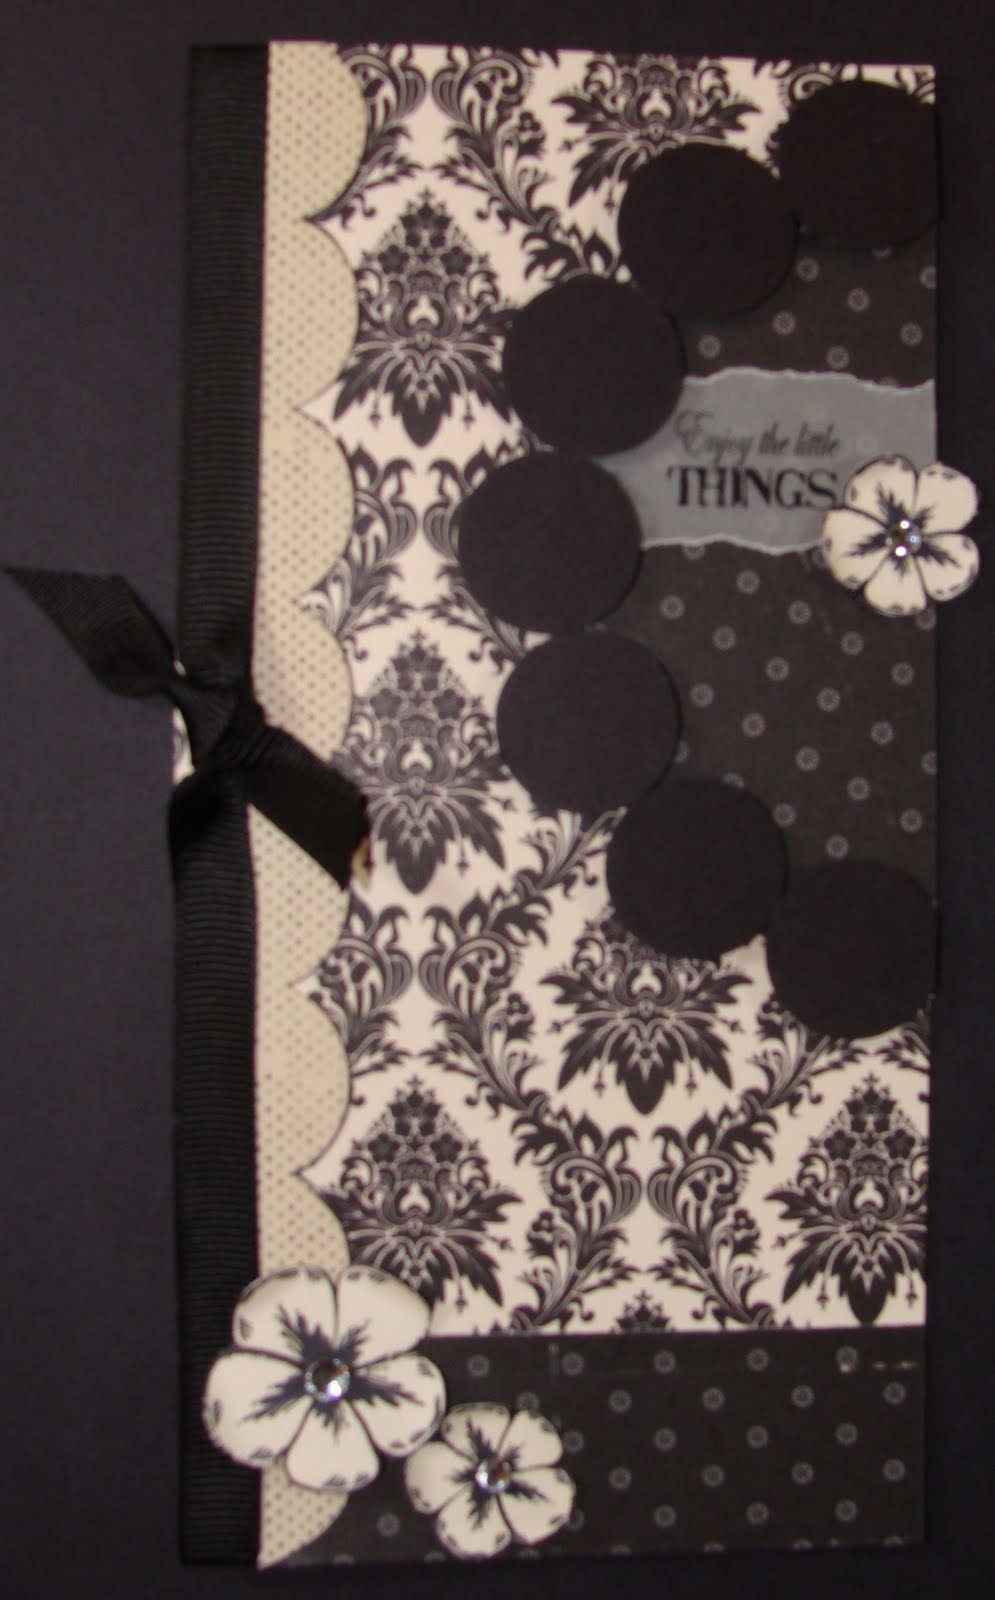
"Enjoy the little things" card
I see this as a perfect card to send a friend after a day of hanging out or just to let them know they are loved.


Wednesday, April 13, 2011

Quick Quotes Design Team Call

QQ is looking for their first ever design team. Hooray!!! Read below for the details! =)

QUICK QUOTES DESIGN TEAM CALL If you love creating unique, quality projects with top-of-the-line products-our design team may be perfect for you! · Quick Quotes Scrapbook Company is looking for 7 additional design team members to showcase innovative creations using Quick Quotes products. · The term will last 6 months, beginning May 1, 2011 and ending October 31, 2011. · Sharp photography skills are a must. Photos should be taken with high resolution in clean, crisp backgrounds using excellent lighting. · You must have and regularly maintain a personal blog.

WHAT WE EXPECT: · Provide at least 4 projects per month. Projects can be layouts, cards, altered items or home décor, using primarily Quick Quotes product. · Abide by all deadlines given. · Promote Quick Quotes whenever possible, including posting in online galleries, forums and blogs. · Respond and interact with participants and followers of the Quick Quotes blog and Facebook page. · Enter your monthly projects in at least 2 online challenges. (We will provide suggestions at your request). THE

BENEFITS & PERKS: · You will receive a welcome package from us, including EVERY color of ink that we manufacture. · Ample Quick Quotes products to create with. · Your name and bio listed on our Designers page. · Access to an exclusive Design Team board to share and learn tips, tricks and techniques. · Your blog will be listed on our main page! · Quick Quotes sponsorship of 1 contest or challenge of your choice during your term. · A specially designed badge/blinkie for your blog. · Scrappers status and bragging rights that you made a fabulous Design Team!

TO APPLY, PLEASE SUBMIT THE FOLLOWING BY APRIL 23rd to brynn@shopquickquotes.com : · Full contact information, including your name, address, telephone number, e-mail and personal blog address. · 4 examples of your BEST work using up to 10 photos. Projects need not be newly created or use only Quick Quotes product. · A short bio. of yourself and why you’d like to be considered for this position. · Previous/current commitments (such as other Design Teams, etc.) and experience. · An e-mail link to the exact post on your blog showing the photos. If you have previous posts highlighting Quick Quotes products, please provide those links as well.

The announcement of the 1st Quick Quotes Design Team will be made on Monday, April 25th!

***BEST OF LUCK EVERYONE***