Showing posts with label quick quotes. Show all posts

Tuesday, January 17, 2012

'Family' Interactive Canvas

'Family' Interactive Canvas
Hi everyone,
Today I am showcasing a new paper line by Quick Quotes called "One Fine Day."  With these papers, I decided to create an interactive home decor piece.  I used my Spellbinders Grand Caliber machine along with the 'Creative Book Pages' Grand diecuts to create my flip up pages.
I used a 10x10x1 canvas, then I used 3 diecuts from the 'Creative Book Pages' nestabilities to create different layered pages.  I scored each page at 1/2" to create the binding for my album.  I adhered them to the back side of the canvas so that when the last page is flipped up I have a shadow box :)

 On the cover I added corrugated chipboard, a Petaloo flower, QQ frosted butterfly, cream ribbon & I cut the Precious Family rectangle from the word & phrases sheet included in the paper line.  Throughout the project I also used various QQ inks: Mocha Mama, Green with Envy & Bloody Mary.

 For my first flip up pages I used some corrugated chipboard, a Martha Stewart Punch & some of the Quick Quotes adhesive backed glitter chipboard pieces.  I then scrunched some ribbon across one part of the page.

 For these next pages I used a QQ diecut frame.  I also used more of the glitter chipboard pieces and added various bling.  "Family is..." also cut from the word & phrases paper.


For the last pages I used the negative piece from one of my flip up pages as the background to mat around my shadow box.  I decorated the inside with Petaloo flowers.  The 'Forever' journaling spot is also included on the 12x12 word & phrases sheet in the paper pack.
I really enjoyed working with these new papers and I hope you enjoyed my project.  Thanks for stopping by! :)
Photobucket

Saturday, January 14, 2012

'Cutie' layout

Happy Saturday everyone!

Here is a layout featuring my precious baby, Ethan :) I used Quick Quotes newest paper line called "One Fine Day." It is being released at Winter CHA in a few short weeks. I love the muted color hues.

In this photo Ethan was just 9 months. I am working on his first year album and am pretty close to being caught up. He is currently 11 months old.  The rest of his album can be found at the tab at the top of my blog.

Items used: I added chipboard letters from Crate paper and the clear transparency journaling block from Oriental Trading Co.  I also added a few buttons & twine, plus some black rhinestones between the flags to finish off my layout.  To create my frame around Ethan I used my Spellbinders Grand Caliber machine along with the 'Creative Book Pages' die cuts.  I used the negative of one of my pieces as the frame which is also embossed around the edges.  The paper & quote are both from Quick Quotes.

Thanks for looking!

Photobucket

Wednesday, January 11, 2012

'Flying' - double page layout

'FLYING'

Here is a fun, double-page layout I created with the newest paper line from Quick Quotes - SUMMER SAMBA.  I love all of the bright colors.  They made the perfect background for my son's first flying trip with daddy.  He came prepared with his pilot's notebook, headset and sunglasses.  He had a great time from wheels up to wheels down and can't wait to go again.


I changed the title by adding an 'L' to make it 'ALTITUDE' :)  This also shows the distressing of my blue & red papers, as well as, my Spellbinders Creative Page Tabs up close!  I used my die cuts to make decorative tabs on some of my photos.


ITEMS USED:
Summer Samba papers by Quick Quotes (I love the 12x12 sheet of words/phrases that is included)
Blue Hawaiian Chalking Ink - Quick Quotes
Spellbinders - Creative Page Tabs (cut & embossing)
EK Success border punch
Various brads, paper clips, ribbon

Photobucket

Wednesday, January 4, 2012

Family memories - single page layout

Happy 2012!!!

To kick off the new year I've been scrapping my 2011 pictures :)  Here is a layout using Quick Quotes newest paper line called "Dreamscape."

 The QQ design team was lucky enough to be sent a Spellbinders Grand Caliber die cut/embossing machine.  I used the 'Labels 1' Grand dies to make the nesting shapes behind my photo.  Then I used my 'Wonky Rectangles' to make the mats behind my vellum.  I love this machine.  Not only does it cut, but it also embosses!  This pic shows the imprinted design around the edges.
 To jazz up some of my cardstock, I added some liquid glass to the pre-printed flowers.


Items Used:
QQ Dreamscape papers
QQ Frosted Flourishes
QQ Vellum
Spellbinders Grand Caliber + Wonky Rectangles & Labels 1 Dies
Martha Stewart Border Punch

Photobucket

Saturday, December 24, 2011

Christmas Eve! Some layout goodness!!!

Interactive Layout
Nolan is now 4 and truly understands Santa's role this year.  It is a very exciting time for us and there has been lots of baking gearing up for the special plate we're leaving for Santa & his reindeer.  In anticipation of all of the amazing photos I know I'll be taking, I have created a layout with an interactive mini album in the middle of my page.  I used one 12x12 sheet of word/phrases paper from the new 'Very Merry' line (Dec Club Q).  Then I cut out the 4 corner squares to frame photos.  To create the mini album I used a 3x9 piece of paper and scored it at every 3 inches.  I decorated the cover and added a pull tab.  I used a circle plastic frame and wrapped ribbon around it to showcase the date.  I added a little glitter & liquid glass to various parts of the paper to make it pop.

ribbon-wrapped plastic frame

interactive album

ENJOY!!!

 MERRY CHRISTMAS to ALL & to ALL a Good Night!


Photobucket

Wednesday, December 21, 2011

'Holiday Love & Joy' Layout

"Holiday Love & Joy" layout
 I created this double page layout using the contents from the gorgeous Dec Club Q.  Each month I say it's my new fave only to be topped by the next month's kit.  My only additions were a few scraps from the 'Merry Go Round' paper line and some Petaloo flowers.  I love pages that allow for multiple photos :)  I feel like I get more bang for my buck, so to speak.
 love the journaling blocks
that were included :)

Chalked in Tahiti


Photobucket

Monday, November 28, 2011

Quick Quotes Blog Hop Day 3

Welcome to Day 3 of the QQ Design Team Blog Hop.


I created 2 projects for today.  The first project is a card where I combined the Cherry Truffle papers & French Quarter papers to create a friendship card.  


My second project for today started off as a packaged layout kit from Quick Quotes - 'Simple Joys'.  I put my own spin on it and here is my finished project.  The layout had many more flowers but since I was tailoring it to be a boys page, I removed some of the flowers and I added some hardware embellishments like the brads & photo anchors.  I used an acrylic stamp to add the word 'months.'  All of the distressing was done with the QQ powderpuff chalking inks (a must-have scrapping supply).


 I created my tag to be an interactive piece.  This way I could journal about Ethan's milestones at 8 months old.  I am creating his 1 year album and am trying to keep up the best I can.  The rest of his album can be found in the tab at the top called 'Ethan's 1st Year Album'.
Thanks for stopping by. =)

To win the DAY 3 prize (Just Jackson papers & 2 inks):
#1 leave a comment at all stops for today
#2 check back at the QQ blog on Wed 11/30 when the winners will be announced


YOUR NEXT STOP is RHONDA's BLOG

Photobucket

Wednesday, November 9, 2011

'Pumpkin Time'

LISA - 'Pumpkin Time'
Featuring 'Copper Kettle' QQ papers. We picked out our pumpkin fairly late in the season and I am glad we did. I am loving these photos with the new papers, so my procrastination with pumpkin picking must have been meant to be ;) I combined pieces of the altered art kit of the month, with the page kit to create my double page layout. I punched my own holes in the large black frame to add some pops of ribbon. I chalked my 'T-I-M-E' chipboard title in Mocha Mama chalking ink. I love the mix of papers, vellum, quotes & brads that were included in the Nov Club Q pack. (PS - the pumpkin diecuts are from the Oct Club Q kit.)


Photobucket

Thursday, October 27, 2011

Quick Quotes & Petaloo (a match made in flower heaven)

Altered Box & Card
I created this card with the Julie Je t'amie papers, QQ chalking ink in Tahiti & Purple passion, and Petaloo flowers. I used my Grand Caliber machine by Spellbinders to cut & emboss my 'happy birthday' tag.

I just bought a new flat iron and decided to keep the box it came in and alter it. Right now it is storing my other flowers but I may use it as a gift box for an upcoming birthday. This was created with Julie Je T'amie Quick Quotes papers & Tahiti chalking ink. Then I finished it off with 'gorgeous' Petaloo flowers and ribbon.

Check out the Quick Quotes blog for more great projects.


Photobucket

Thursday, September 22, 2011

Mini's galore

Since becoming part of the QQ Design Team I have fallen in love with mini albums.  I used to find them intimidating, but now I adore them! :)
I loved the altered mini book that came in the Sept Club Q kit (Quick Quotes' Monthly Kit Club). Since there were so many awesome pages, I decided to take mine and turn it into 2 separate projects. One for me to keep and one to give to a co-worker.

 Above is where I trimmed & added a transparency overlay to one of my chipboard pages.
All items used were from the Sept Club Q Altered Project kit with the addition of a few diecut flowers & transparencies from the Sept Club Q page kit.
 Photobucket

Friday, September 16, 2011

'Thank You' Goodie Bag (Peachy Keen Stamps Blog Hop)

"THANK YOU" Goodie Bag
So glad you hopped on over.  I hope you are enjoying this fabulous hop featuring Quick Quotes products & Peachy Keen stamps!  You should have arrived here from Angelica's stop.  If you need to start at the beginning please go to the Peachy Keen blog.

I was lucky enough to work with this uber cute 'Thank You' sentiment and Lady Bug stamp set from Peachy Keen.  I wanted to think outside the traditional Thank You card, so I created a goodie bag instead.
 I cut a circle out of the front portion so you could 'peek' at the goodies inside.
 This A-Frame allows the Goodie Bag to be attached inside while sitting up on any table.
To make the lady bug pop I double stamped her, cut out one of the bodies and added it on top using puffy tape.  I also added liquid glass to her spots to make them shine.

GOODIE BAG HOW TO:

I cut out a piece of paper that was 10x5,” then I scored it at 4”, 5,” and 6”.  This gives it a ‘bottom’ to sit upright.  Decorate your front cover, then cut a window so the ‘goodies’ can show through.  For my circle I used my Fiskars circle cutter which allows me to adjust the circle size from 1”-8”.  The circle on my project is about 2 ½”.  Then I just added a baggie of candy to the inside.

STAMPING TIP: When I stamp images I like to put a piece of foam under my paper.  This way your ink transfers more evenly and you won’t have missing parts of the image. 

ITEMS USED:
Peachy Keen stamps (lady bug & thank you)

There are amazing prizes to be won during this blog hop.  Just do a few things:

  1. Become a follower here at my blog
  2. Leave a comment
  3. Check back on the main Quick Quotes & Peachy Keen blogs on Monday 9/19 to see if you are a winner of one of these awesome prizes!
***Your next stop on this amazing hop is: ADORA's Blog.***  Thanks for stopping by!

Photobucket

Saturday, May 21, 2011

Nolan the Photographer

I couldn't help but laugh when I saw tons of blurry photos of the family all taken by my 3 year old son. Taking photos is his new hobby and I couldn't pass up the chance to document this moment in time. So here I am embracing the blurry photos :)

I used Quick Quotes paper "Ode to Joy" and stamped on the photos themselves with Close to My Heart acrylic alphabet stamps (Sans Alphabet & Doodle Alphabet). To stamp on photos I like to use 'Stayz On' ink. This is quick drying and won't smudge.


NOTE: Stayz On ink will permanently stain your stamps, but it does not damage them. Be sure to clean them right away and they will continue to work just as well with regular ink for future stamping :)

Monday, April 18, 2011

Club Q Alternate Designs for April

This month QQ introduced their newest paper line called "Damsel in Distress." Since I am surrounded by boys, I sometimes find it hard to take the 'girly' papers and turn them into pages I can use for the men in my life. In my alternate designs for this month on my two page layout I steered clear of the flourish side of the papers and used the more masculine stripes for a daddy & sons layout. Then I created a one page layout with the flowery side that I plan to use as a heritage page with great grammie & the boys.

These particular papers also reminded me of celebrations such as an anniversary or wedding, so I also created 2 cards to use for occasions such as these. ENJOY!!!

"Just Like You" (father & sons layout)
I left the two tags and chipboard in the bottom corner empty for me to add journaling later.


Chipboard Embellishment Idea - take regular chipboard and stamp a design on top of it or use metal tools to imprint a design on the chipboard before adding distressing ink.


"Daddy's Boy" poem - what a perfect addition for this page. Sometimes a vellum quote sums up everything you are thinking and feeling to add special sentiments to a page.


"For Keeps" Heritage Layout
The "for keeps" tag can be glued down to the page or you could cut a slit in the page protector to create an interactive sliding piece and add journaling to it. There are also 3 flowers pre-printed at the bottom of this paper. To make them pop a bit more I took a second sheet of the same paper and cut out the 3 flowers. Then I folded the edges slightly and glued them on top of the initial paper. It is hard to see in the pictures, but it definitely adds a lot to the bottom of this layout :)


"Celebration" card
Inside the frame you could add a picture of the happy couple for a wedding or anniversary.


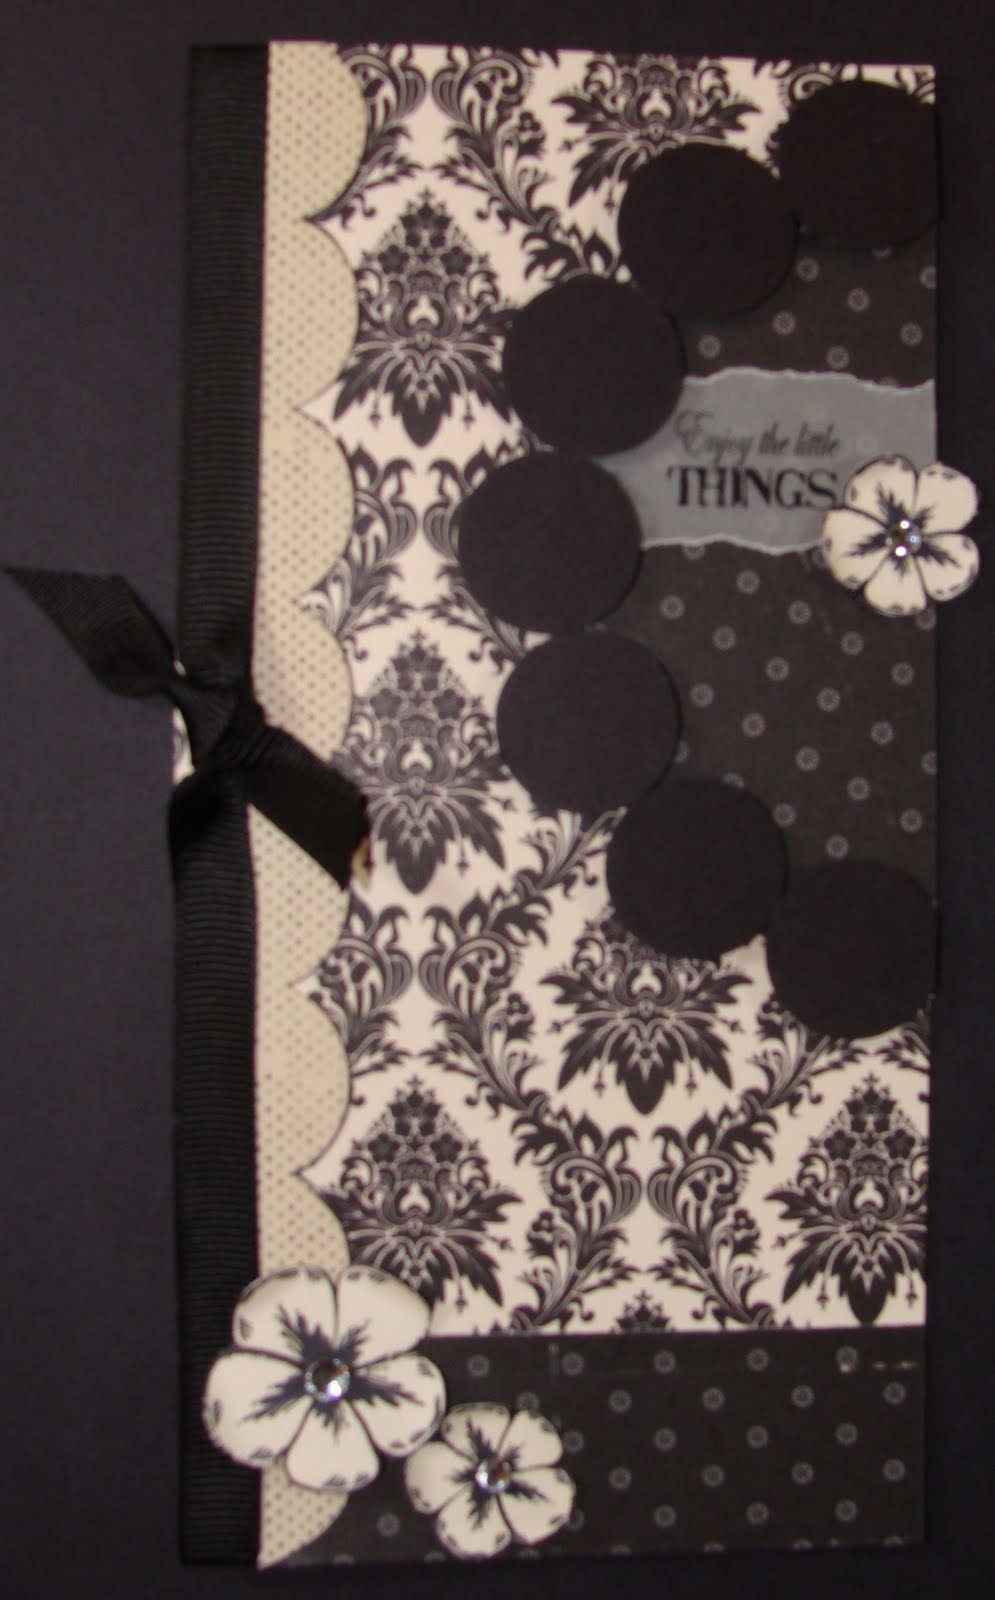
"Enjoy the little things" card
I see this as a perfect card to send a friend after a day of hanging out or just to let them know they are loved.